Sunday 26 February 2012
Friday 24 February 2012
About Formulas
In school, you learned formulas used to calculate math problems. Microsoft Excel uses these same formulas to perform calculations in a spreadsheet.
A formula can be a combination of values (numbers or cell references) and math operators (+, -, /, *, =) into an algebraic expression. Excel requires every formula to begin with an equal sign (=).
The following table illustrates the mathematical operators learned in school and those represented in Excel 2003.
The result of a formula-the answer to 2+3, for example-displays in the cell on the Excel worksheet. The formula is visible only in the formula bar. A formula's result will change as different numbers are entered into the cells included in the formula's definition.
A formula can be a combination of values (numbers or cell references) and math operators (+, -, /, *, =) into an algebraic expression. Excel requires every formula to begin with an equal sign (=).
The following table illustrates the mathematical operators learned in school and those represented in Excel 2003.
| School | Excel 2003 | |
| Addition | + | + |
| Subtraction | - | - |
| Multiplication | X | * |
| Division | / | / |
| Equals | = | = |
Thursday 23 February 2012
Import your messages or account from Outlook Express to Outlook
You can import e-mail messages from Outlook Express into Outlook. The process you use depends on whether the two e-mail programs are installed on the same computer or not. The Outlook Express Inbox folder is a single file, Inbox.dbx. Conversely, Outlook stores each message as an individual file. To transfer messages by using the Import and Export Wizard, you must first locate and copy the correct files from the computer where Outlook Express is installed to the computer where Outlook is installed.
When outlook and outlook express are installed on samecomputer:
1.In Outlook, on the File menu, click Import and Export.
2. Click Import Internet Mail and Addresses, and then click Next.
3. Click Outlook Express.
4. Select the Import mail check box.
5. Click Next.
6. Click Finish.
7. To save a copy of the import summary to your Inbox, click Save in Inbox.
When outlook and outlook express are installed on different computer:
Copy Outlook Express folder
1.On the computer where your Outlook Express account is set up, in Outlook Express, on the Tools menu, click Options.
2. Click the Maintenance tab.
3.Click Store Folder, and then note the entire path shown in the field in the Store Location dialog box.
4. If necessary, modify the default view in Windows Explorer so that you can see hidden folders. The Outlook Express folder is located in a hidden folder.
5. Browse to the location that you found in the Store Location dialog box.
6. Do one of the following:
Copy the entire Outlook Express folder to removable media, such as a floppy disk, DVD, or portable memory device, and then copy it to the computer where Outlook is installed.
Copy the entire Outlook Express folder to a network location that the computer with both Outlook and Outlook Express has access to.
7. On the computer where Outlook is installed, open Outlook Express. If prompted to create an e-mail account, click Cancel.
8. On the Tools menu, click Options.
9. Click the Maintenance tab.
10.Click Store Folder and then click Change.
11. Browse to the location where you copied the Outlook Express folder, and then click the folder that you copied in step 6. Click OK.
12. To close the Store Location dialog box, click OK.
13. When prompted to use the new messages or replace them with messages from the old store location, click yes to switch to that store.
14. Close Outlook Express, and then open it again to complete the process.
Import Outlook Express messages into Outlook as mentioned above.
Wednesday 22 February 2012
Realistic Medium Poly Tree

Vegetation has always been a neglected topic when it comes to tutorials. So I have decided to give the community exactly what they have been asking for. This method makes a tree with a reasonable number of faces. (mine came out to 7,128) This allows for having multiple trees without your scene becoming too heavy. Another great thing about this method, is that you can use it in the blender game engine. If you’re not using Blender, you should be able to use the same methods in whichever program you are using.
In this tutorial you will be learning
Modeling from details first
UV Unwrapping
Creating normal Maps using xNormal
Applying Textures
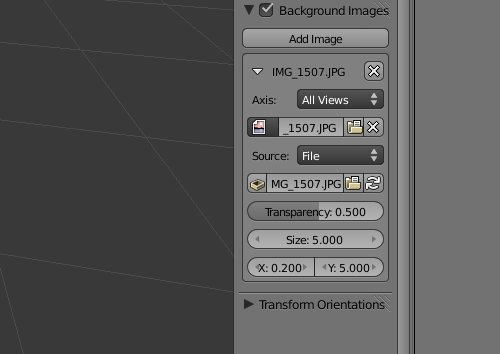
First load your reference photo into the background.
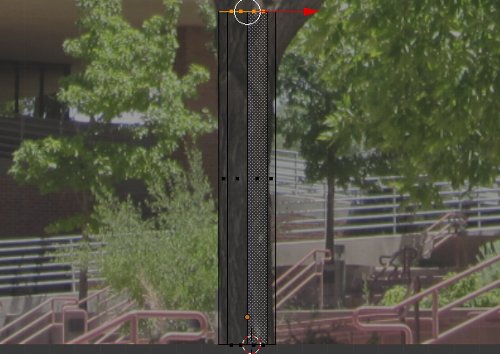
Press “Shift +A” and insert a tube into the scene.


Start maping the tube to fit the trunk, and main branch.
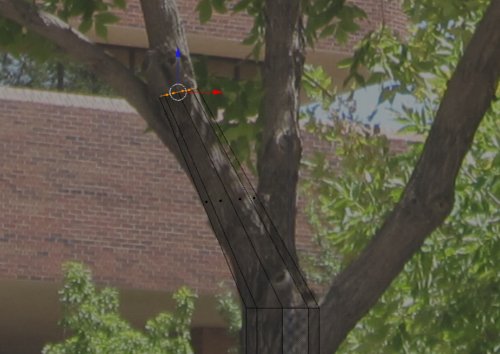

Select one segment from the main branch, and duplicate it “Shift + D”.
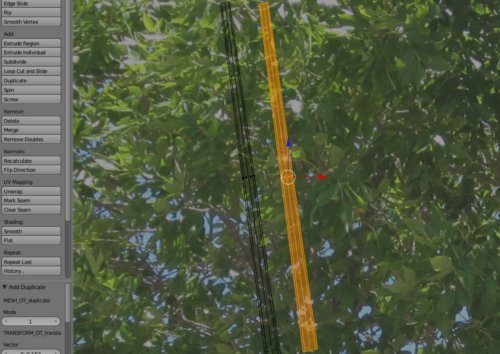
Use this new segment to shape out another branch.


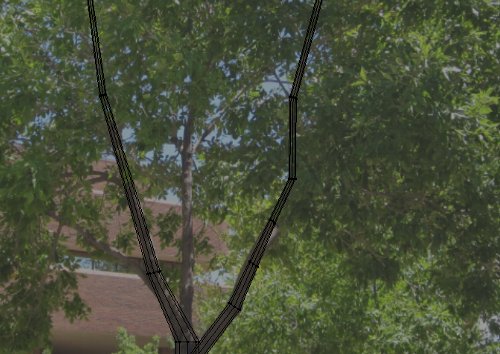
Repeat this same step for all of the main branches.

Right now, the tree looks flat. This is no good.

To fix this, start pulling around verts along the Y axis.
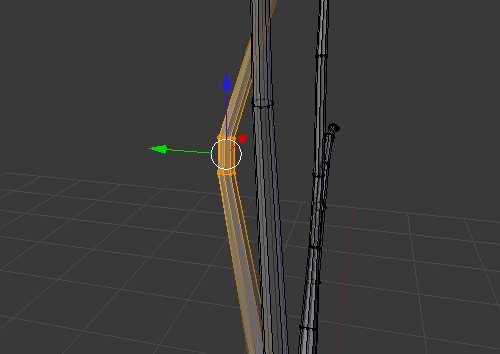

Another thing you can do is to put the 3d cursor at the base of a branch, and rotate along the cursor.

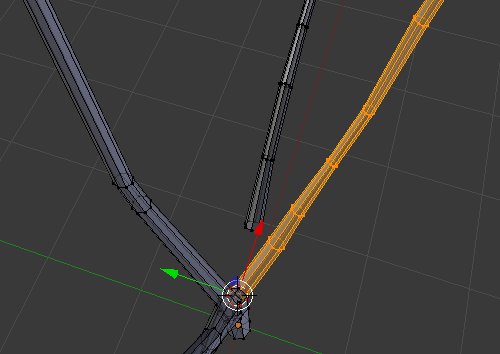
Repeat these same steps for all the branches.


Now we need to connect all the main branches. to do this, delete the closest 2 faces where a branch intersects.

Now insert an edgeloop with “CTRL + R”.

Now merge the outer verts together, press “W” to open up the specials menu, and select Merge.
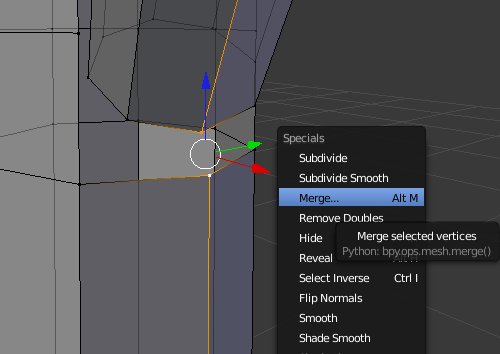
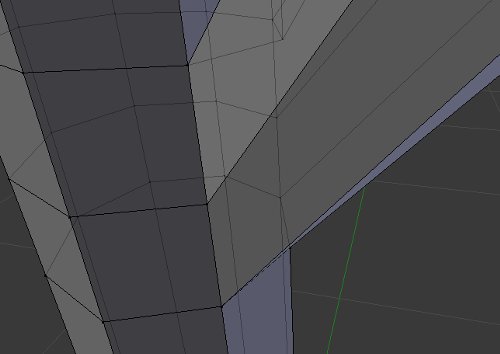
This looks too uniform, so pull the verts around a bit so it looks natural.

Repeat these steps for all the branches.

Now we need to make the smaller branches, so add another tube.
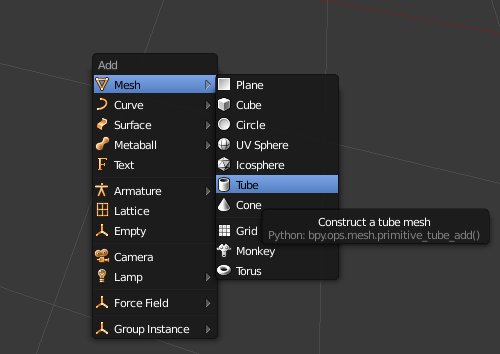
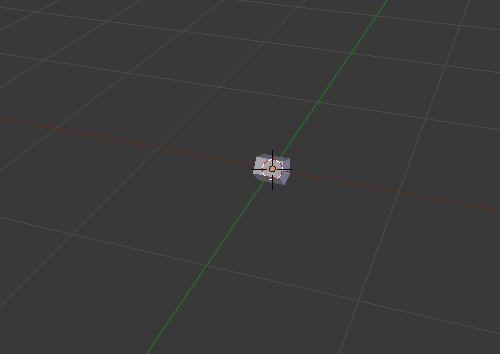
Start shaping out a branch.


Duplicate this branch, and place it to make a forks.
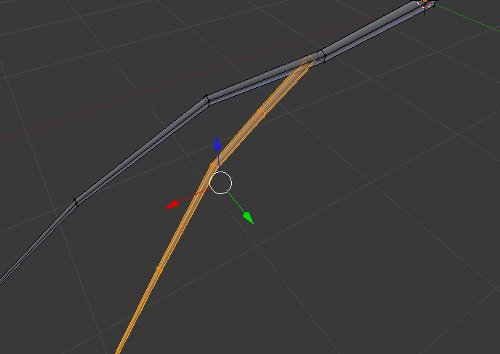
Now it’s time to UV unwrap the tree, so split the 3D view, and select the UV/Image Editor.
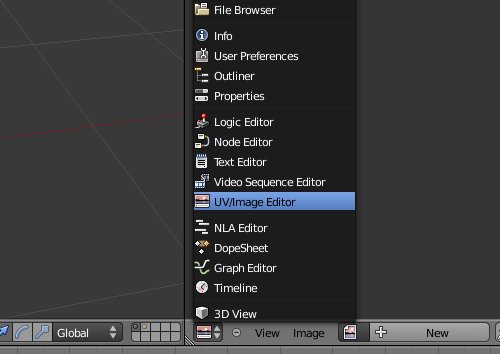
Now open your bark texture.

Make sure that the caps are deleted.

Select the edges where branches connect, as well as an edgeloop running down the branch, and mark seam by pressing “CTRL + E”

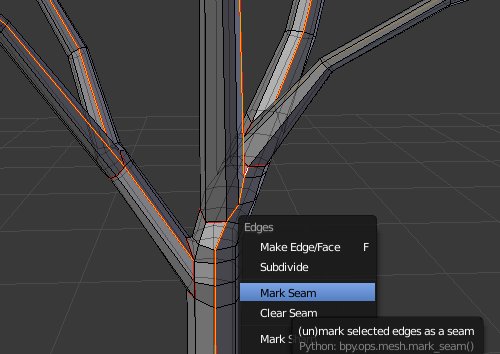
Now select all, hit “U” and select unwrap.

Change the Viewport Shading to Textured
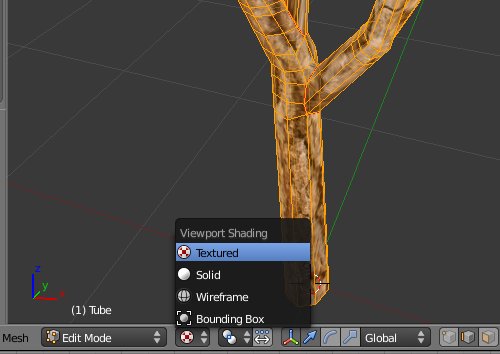
Right now our UV’s are too small, so scale them up.
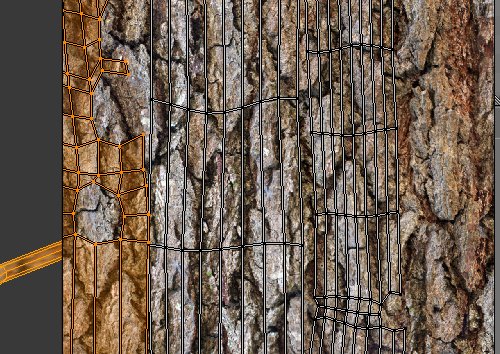
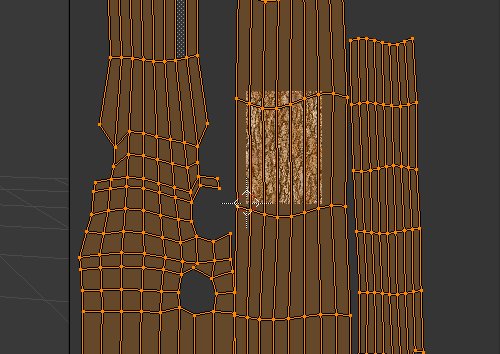
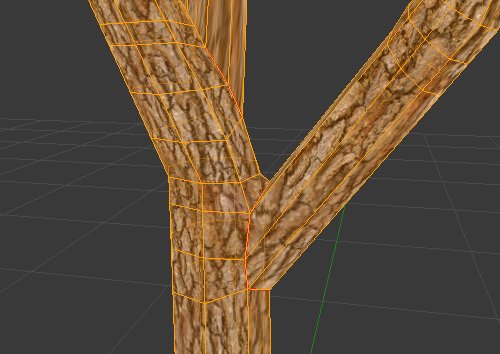
Some of the UV’s may be stretched, so edit them to make the bark texture a little more uniform


Repeat these last few steps for the small branch that we made.

Now on to the leaves. Load up a photo of a small leaf cluster into Gimp or Photoshop.

Crop and scale the leaf cluster into either 512X512, or 1024X1024

Mask out your leaves from the background.

With this mask you can easily make your color and alpha map.
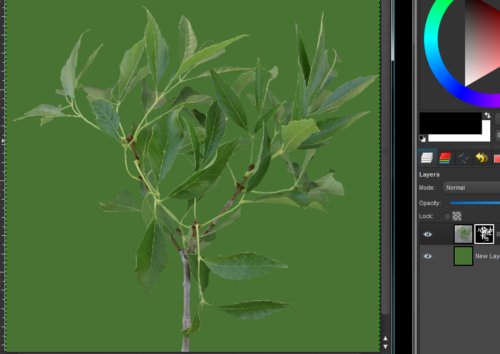
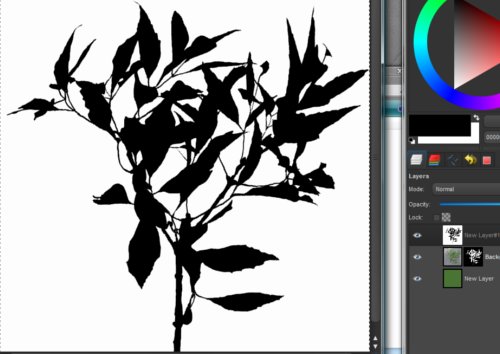
These next new steps are optional, but making a normal map for your leaves will really help push this to the next level
In a new scene, Create a plane.
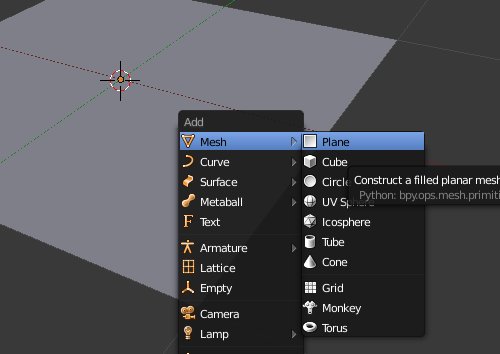
Split the view and open the UV/Image Editor.

Create a new material, turn on Z Transparency, and change the alpha value to 0.


Now apply your texture maps.


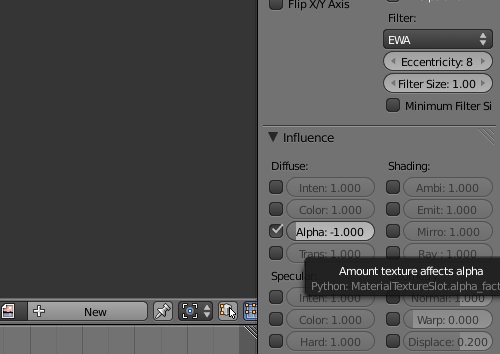
For your alpha map, uncheck Color. Check Alpha, and change the value to -1.
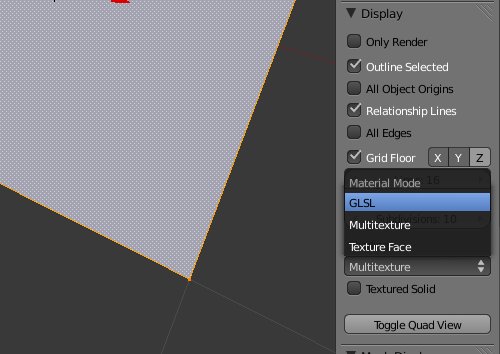
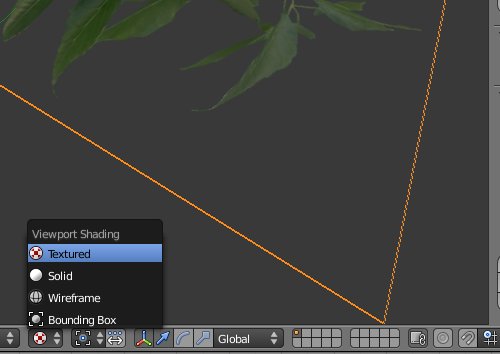
In the 3D view, change the display mode to GLSL, and change the Viewport Shading to Textured.
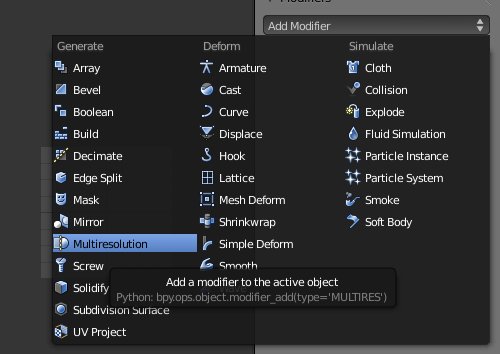
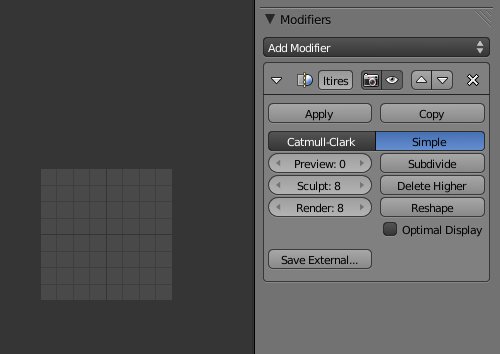
Add a Multires Modifier, and set the levels to 8.
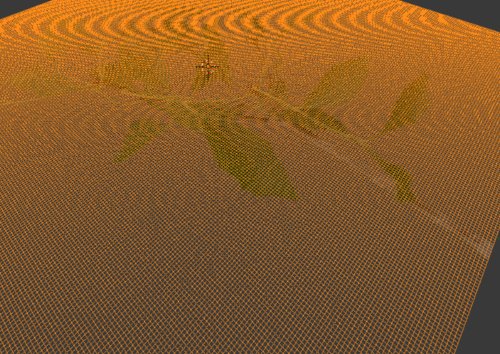
Now go to Sculpt mode, and sculpt the plane to give the leaves some depth.


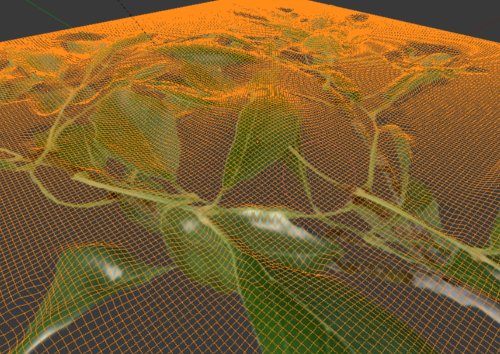
Duplicate your plane with “Shift + D” On one copy apply the modifier, on the other turn off the modifier.

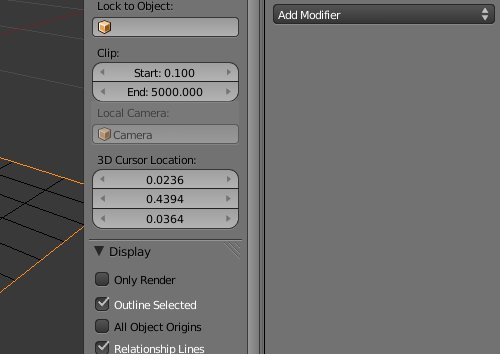
Export both of your planes as .obj.

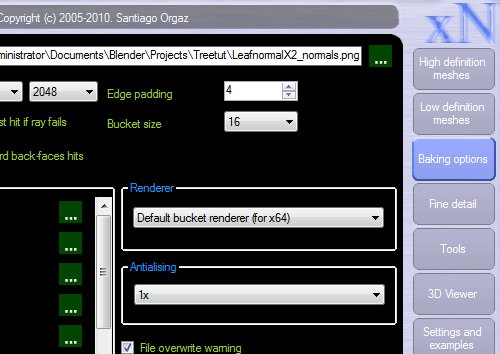
In Xnormal, import both your low poly plane, and your high poly plane.


In Baking Options, chose where you want to save your file to, then Hit the Generate Maps button.

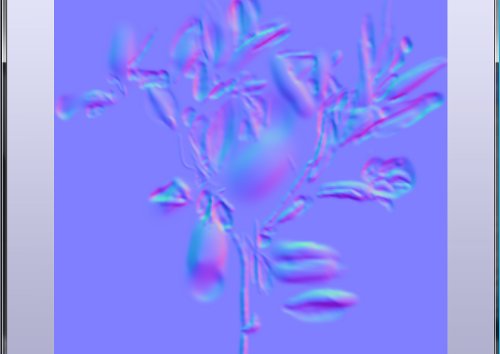
Load up your bark texture into Gimp, or Photoshop, and desaturate it.


Apply a slight Gaussian Blur, Adjust the levels like so, Then Invert the image.


In Xnormal, click the “tools” tab, then “Hightmap to normal map”

Right Click in the Hightmap window, load your new bark texture. Then In the Normal map window, right click and select Generate.


Now right click, and save your normal map.

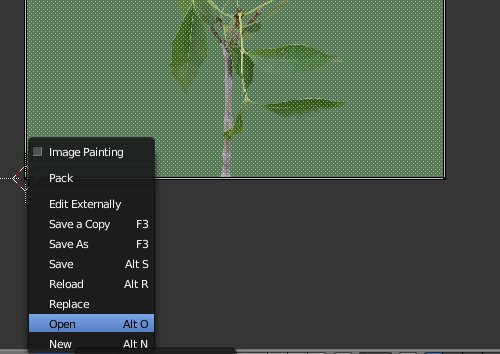
Now go back to your original scene file, and add a plane. Open your leaf color map into the UV/Texture Editor, and unwrap the plane.
Move the object center to the start of the twig.

With the face selected in edit mode, open the “specials” menue by hitting “W” then select “Subdivide”.
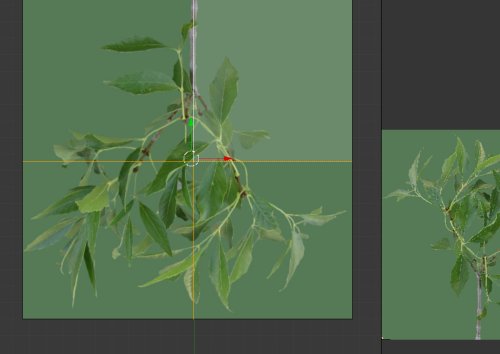
Move the verts around so this plane does not appear flat at any angle.
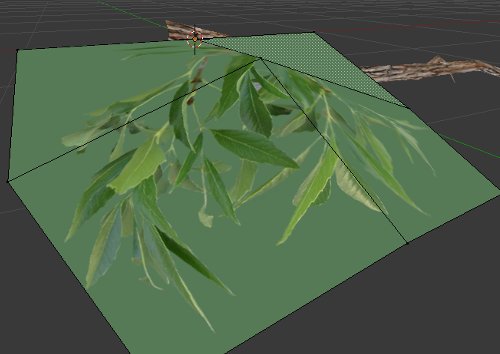
Add a new material to the plane. Enable z Transparency, and set the alpha value to 0.


Load your Color map to the UV coordinates.

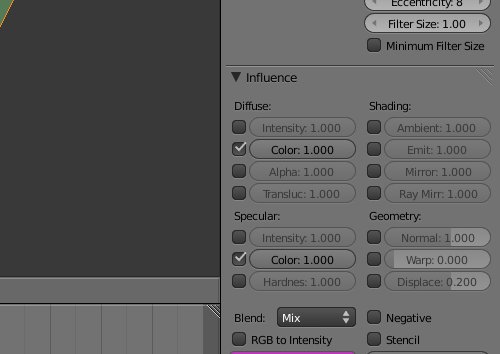
Check the Specular Color box. This will make the specularity look much more realistic.
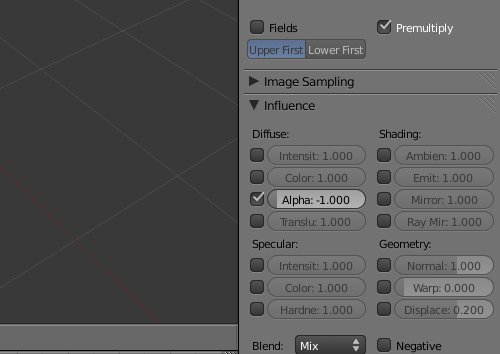
For your Alpha map, check the Premultiply button, as well as the alpha button, and setting it to -1.
For your Normal map, make sure to check the normal map button, and that you change the Normal Space to Tangent.

Repeat the same few steps for the Bark. (excluding the part on alphas)
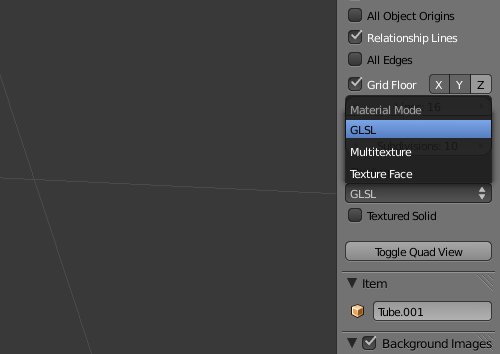
Set the Shading Mode to GLSL.


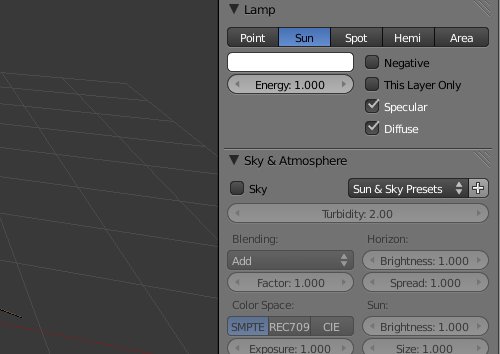
To get a better view, of how the normal maps react, change the point light to a sun, and give it a slight angle.
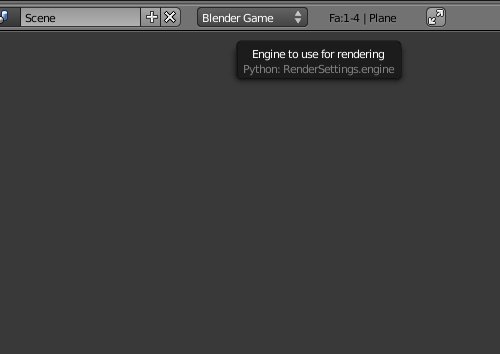
To make the leaves double sided in the game engine, change the engine to “Game Engine”.
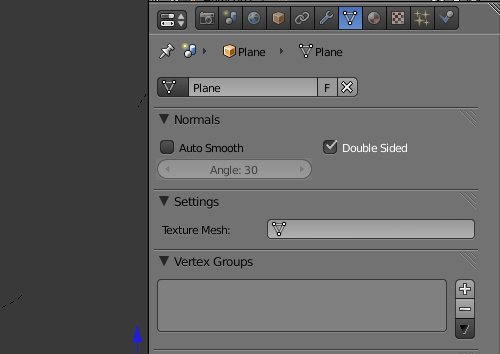
Now in Edit mode, select one face on the plane. In the Object Data Tab under Normals, check “Double Sided” In the same tab under Texture Face check “Two-side” as well as changing the transparency to Clip Alpha.

Duplicate the leaf cluster and position it onto the small branch.

Keep doing this as many times as you feel the need. Try to position them in such a way that gives good volume without the need for ridiculous amounts of leaves.

Now join all the leaves to the branch, and move the pivot point to the end of the branch.

Now place the branch onto the main branches of the tree, and duplicate until the tree is full. Then parent all the branches to the tree with “CTRL + P”.


Now put it in a scene, and you’re done! (This image is from the Blender Game Engine)


