Getting started with Java in NetBeans
We assume that you've obtained a JDK and IDE for your machine: these are the things you need to get started programming Java. In this guide, we'll assume that you're using the NetBeans IDE, which simplifies certain aspects of getting started for absolute beginners. However, if you have chosen another IDE such as Eclipse, it shouldn't matter terribly. Much of the principles are the same, but some of the dialog boxes you will see in Eclipse have extra options which you can generally ignore for the time being.Creating your first project
When working with an IDE, you don't generally stick bits of program willy-nilly all over your hard disk (which was definitely a possibility in the heyday of BASIC, for example). Instead, you tell your IDE to use a particular directory to store your projects in, and each of your projects (in effect, each application you write) has its own directory inside that "master" directory.| There's generally little to say about actual installation of NetBeans (or indeed other IDEs): it's generally a bog-standard installer depending on your platform. When you run NetBeans for the first time, you'll be presented with a large window divided into sections. Ignore this for now, and look for an icon in the top left with a picture of a yellow box and a green cross. This is the New Projecttool, as illustrated to the right. On other systems, if the icon isn't obvious, look for a New Projectoption in the File menu. | 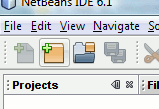 The New Project icon in NetBeans |
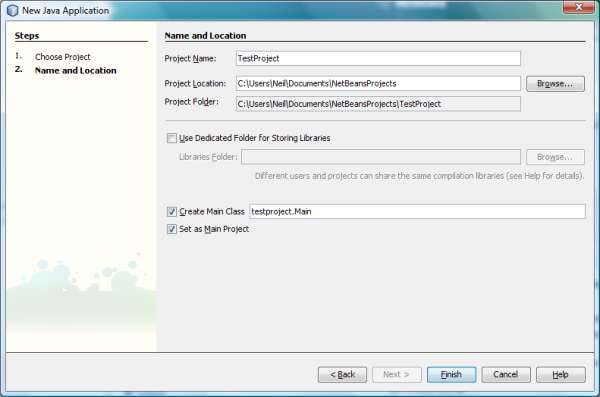
- The Project Location directory is essentially the "master" directory where all your Java projects will set. The default is usually OK, although as you can see, Windows likes particularly long-winded directories. You may prefer to change this directory to something less convoluted– in Windows, C:\Projects would be an excellent choice for most people. From time to time, you'll inevitably need to browse to this place, e.g. to copy icons to your projects etc. So having it buried in ten levels of directory structure isn't always very convenient.
- The Project Folder can usually be left as the default: it will be a folder with the same name as your project, inside the master directory you specified above.
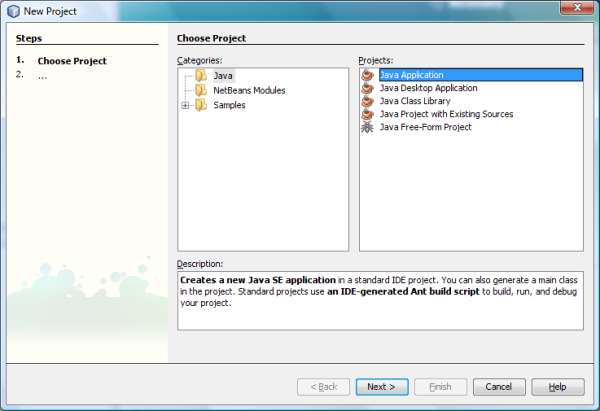
Finally, click Finish. You will now be presented with a skeleton project.


Getting Started With Java In Netbeans ~ Hot Update >>>>> Download Now
ReplyDelete>>>>> Download Full
Getting Started With Java In Netbeans ~ Hot Update >>>>> Download LINK
>>>>> Download Now
Getting Started With Java In Netbeans ~ Hot Update >>>>> Download Full
>>>>> Download LINK